Acrylic Modeling Paste: Add Texture and Dimension to Your Artwork
Are you looking for a new way to add texture to your artwork? Would you like to bring your paintings to life with layers and 3D effects? Meet the art modelling paste! This is the perfect medium, and that carries weight coming from artists, for creating reliefs and impasto. A versatile product that can enhance your artwork, especially when you want to achieve dimensions.
Contents
What Is Modelling Paste?
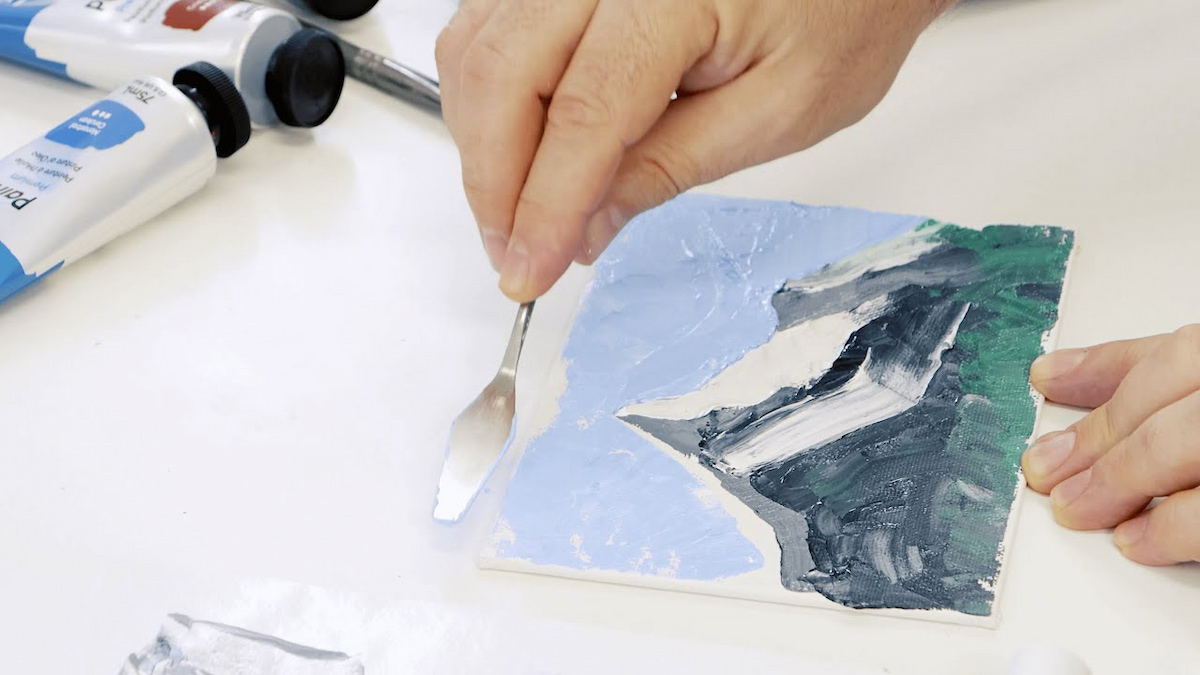
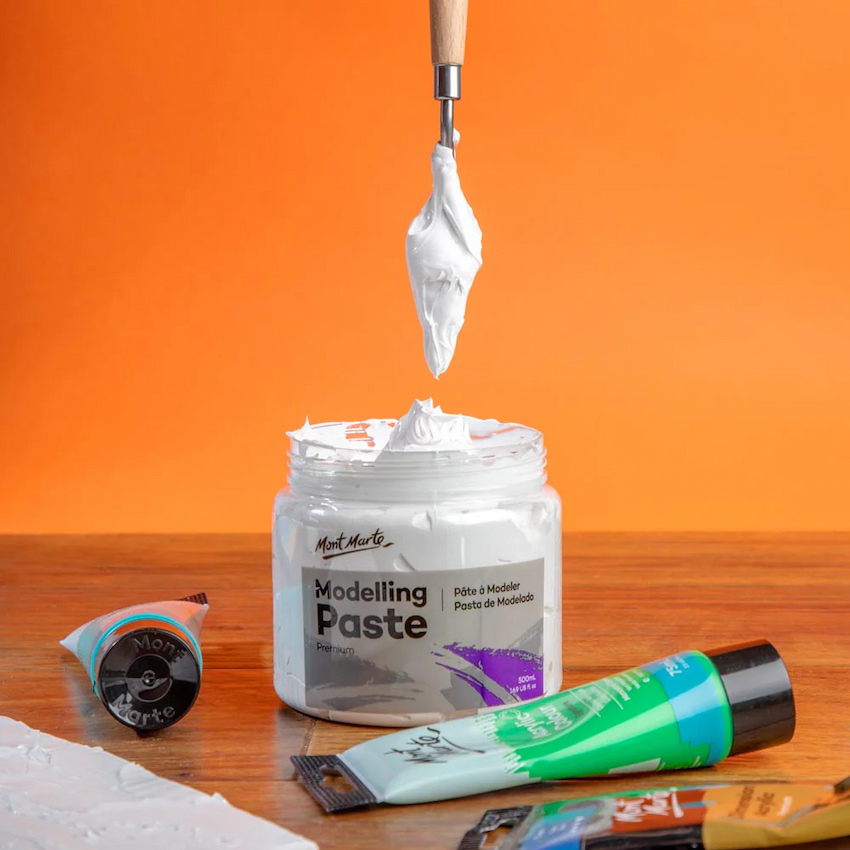
The modeling or sometimes called moulding paste for painting is a lightweight thickening medium that increases the body of the paint. It contains hard solids that produce a textured effect. It can be mixed with acrylic paint while it is still wet to create a thick paint or you can paint over it after it dries. You can apply an acrylic paint modeling paste mixture directly on the board or canvas using a palette knife or a brush.

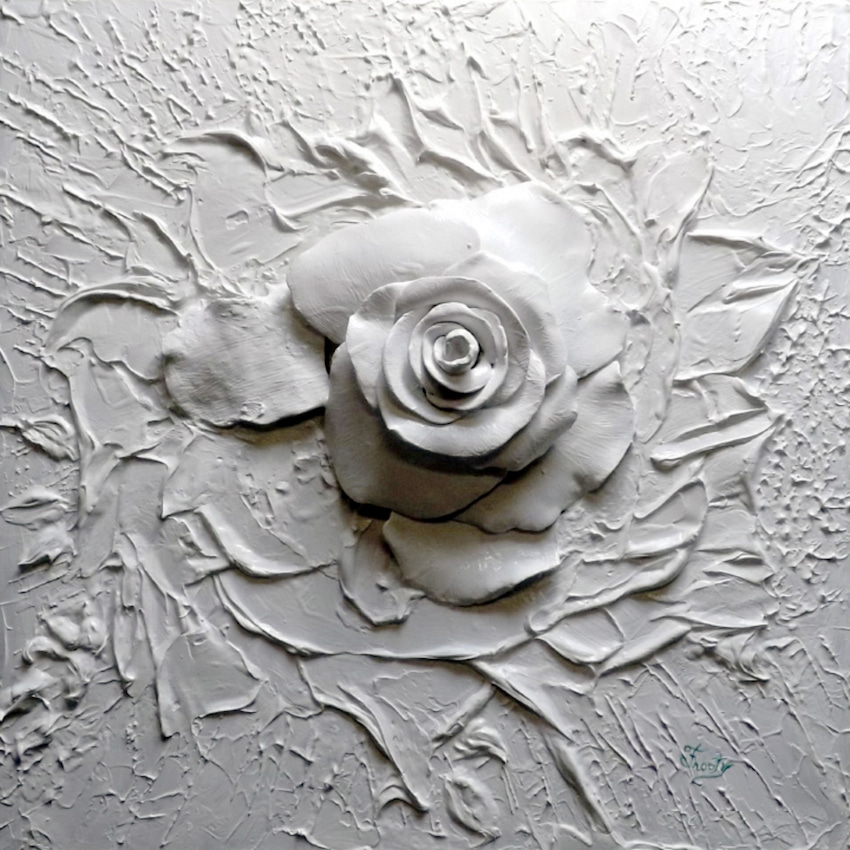
Remember, these mixtures are white when wet and opaque when dry. The marble dust in them gives them opacity and that makes them different from the gels, which are transparent when dry. The imperfections and irregularities that will happen with this medium, as with the acrylic pouring technique for example, will give extra charm and character to the art, so don’t let your inexperience stop you.
First Things First: What Tools Do You Need?
Let’s start with some basics. Since the modelling paste has a high viscosity, you will need the proper tools. You can use a paint scraper or palette knife, or if you don’t have one a butter knife will do just fine.
In case you want to try adding more variety to the texture, you can use some ordinary household objects, like a toothpick or a comb to make lines or a simple plastic wrap that can give you a more crater-like, organic surface.
Another possibility is to add tiny objects for an amazing 3D effect.
Choose a Rigid Surface
The modelling pastes can be heavier or lighter. With heavier ones, choose a strong surface such as a wooden painting board, cardboard, or a Masonite panel. If the type of paste you have is lightweight you can also apply it on a canvas.
In this case, make sure it is a double thick canvas or insert the timber wedges into the corners to keep it taut. This way, you don’t have to be extra careful about how much you put on top of it.
Adding Colour
The modelling mixture can be used as it is, left to dry for around 45 minutes and then paint over it. Depending on the variety, it can be smooth or rough, but you can use sending paper or file if you want to polish some areas.

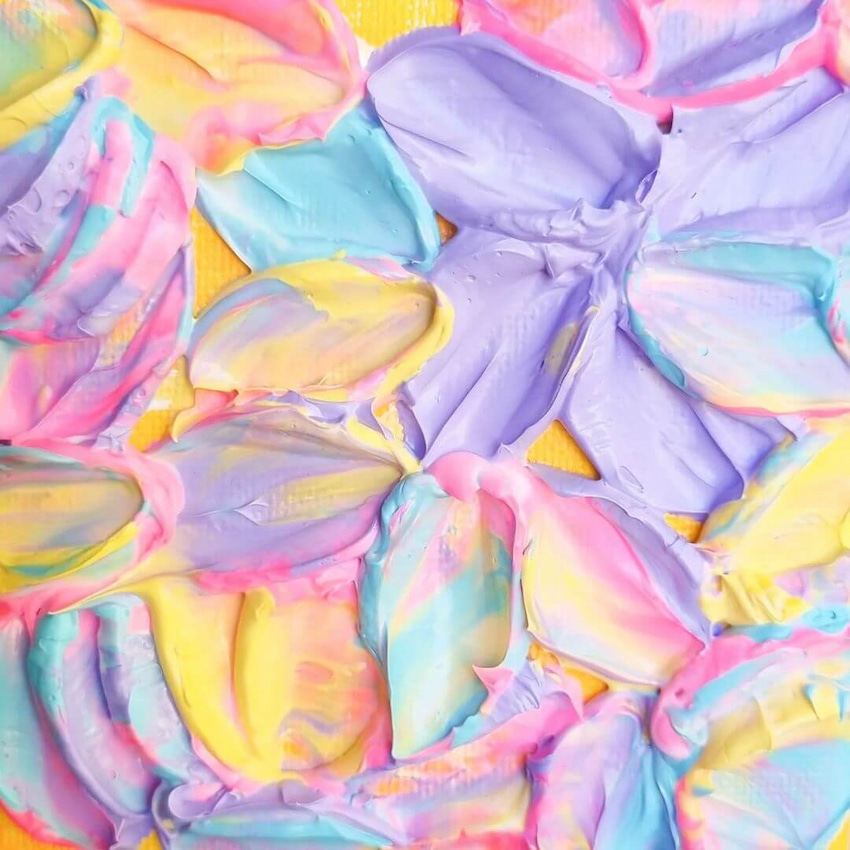
The newer products allow for the acrylic paint and modelling paste to be mixed together beforehand. This makes the paint much thicker and enables you to create everything from a subtle texture to a rough landscape. Keep in mind though, that it might change the colour of your acrylics and affect the drying time.
Some products can be mixed with oil paints as well, so check the labels before you start your new project to avoid ruining your precious supplies. Which technique you choose depends on your personal preferences, but experimenting with it will undoubtedly lead you to new discoveries and you will surely have lots of fun in the process.
Creative Ideas and Some Suggestions
Using Stencils
Many artists like using stencils with modelling paste for creating beautiful works. The process is quite simple and you can easily master it after only a few trials. If you already have a background, place the stencil on top of it and add a generous amount. Spread it evenly and scrape any excess until the only paste left is in the open areas of the stencil. Then carefully and slowly lift the stencil up. Once it’s dry you can paint over it and get your raised image on canvas.
The “Pulling Technique”
Another very interesting and different technique is to put the paste between two pieces of paper and then twist slightly. Then pull the pieces of paper apart and you will get an unusual but unique look of ‘hill and valleys’. If you have already tinted it in an uneven fashion, you can imagine the shades you will get this way.
Embedding Objects
For achieving an exquisite 3D effect, you can embed small objects in the mixture, such as tiny pieces of glass, beads, or some other decorations you might think can work. Again, try and find out. If you don’t challenge your boundaries, you can’t grow.

Layers and Cracks
For even more texture, you can add multiple layers once the bottom one is dry. You can also stamp on the mixture, combine it with gels or give it a glossy finish with varnish. If you want to achieve the effect of cracks, you can dry it with a powerful hairdryer for 10 minutes after applying it until the cracks start showing up.
Repurposing Options
When you use paper or cardboard as a surface for the modelling you can later repurpose it to create other art pieces. The thinner layers can be used as pieces for collages or even as a journal or book covers. Since the moulding mixture can be flexible, you can just fold it to make a cover and even drill through it if need to make a hole.
Keep Your Tools Clean
Don’t forget to clean your tools. You don’t want to get frustrated next time you need them, it will ruin your vibes. So, take a few minutes now to save you the trouble later. Once it’s dry the acrylic modelling paste can be very difficult to clean. Make sure you wash your tool and surface off with water while it is still wet.
Final Thoughts
The possibilities are limitless, just let your imagination loose and see where it takes you. Who knows, this just might turn out to be your next masterpiece. The medium is so versatile that every artist can find their own way to integrate it into their creative process and produce breathtaking works of art.


No Comments