Eco-Friendly Balcony Upgrades: How to Start Growing Your Own Food
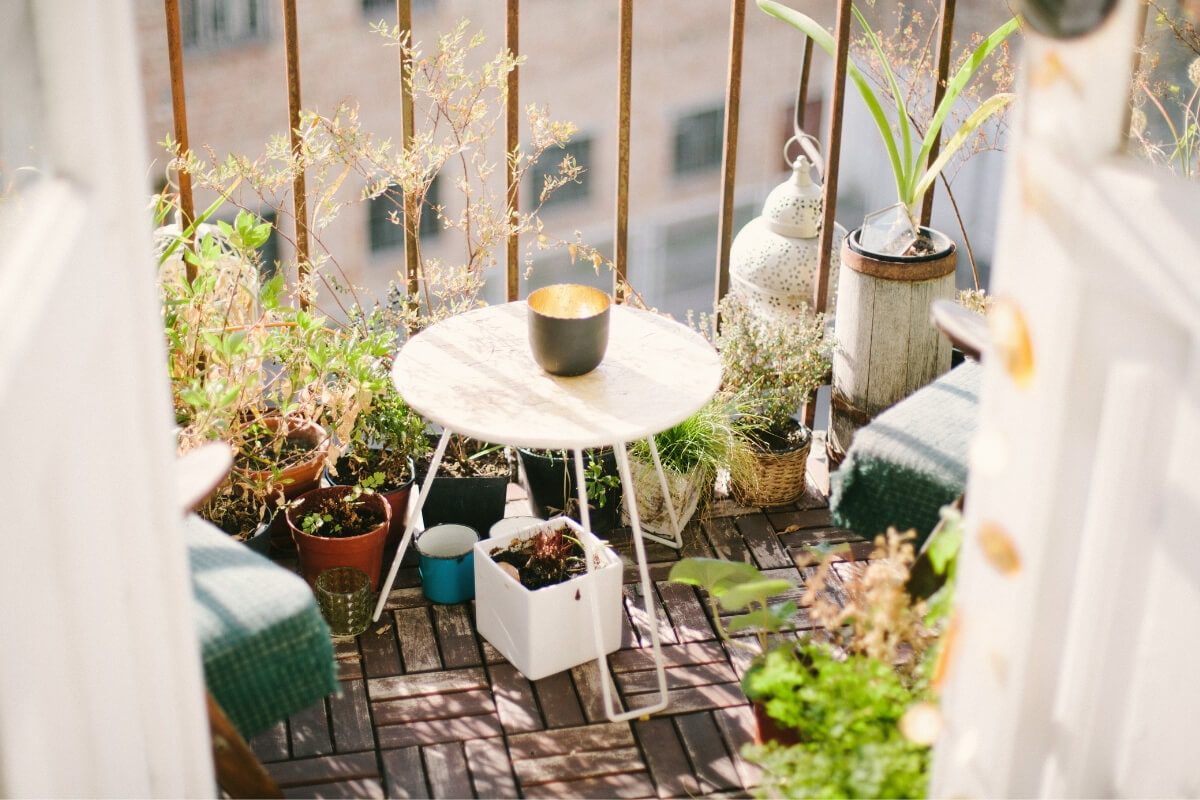
Even if you live in a city, you can lower your greenhouse gas emissions, enhance your health, minimize waste, and conserve water. How? By creating your own rooftop or balcony food garden. The world’s population is expected to increase by more than 35% by 2050. To feed everyone, food output on a global scale would need to double.
However, putting that load exclusively on farmers when more than 55% of people now reside in urban areas is neither practicable nor necessary! Step out onto your balcony or patio, and you can discover the ideal location for growing food. For successful results, consider these factors.
Contents
The Weather Conditions
When it comes to arranging your balcony garden, there is a lot to think about. You might be tempted to get in and start throwing dirt around, but consider the following:
The quantity of sunlight that your garden receives, and the average temperature of your balcony or rooftop year-round have a say in the process. Then look into how much wind your garden will have to contend with. Plan your landscape accordingly keeping these factors in mind.
Choose the correct plants for your balcony’s climate, whether it’s hot and sunny, or shaded and cool. There is no such thing as a low-maintenance garden. Growing food is rewarding, but it might not be a hobby for you if you don’t want to spend much time in your garden after a while. Which leads us to the next important step.
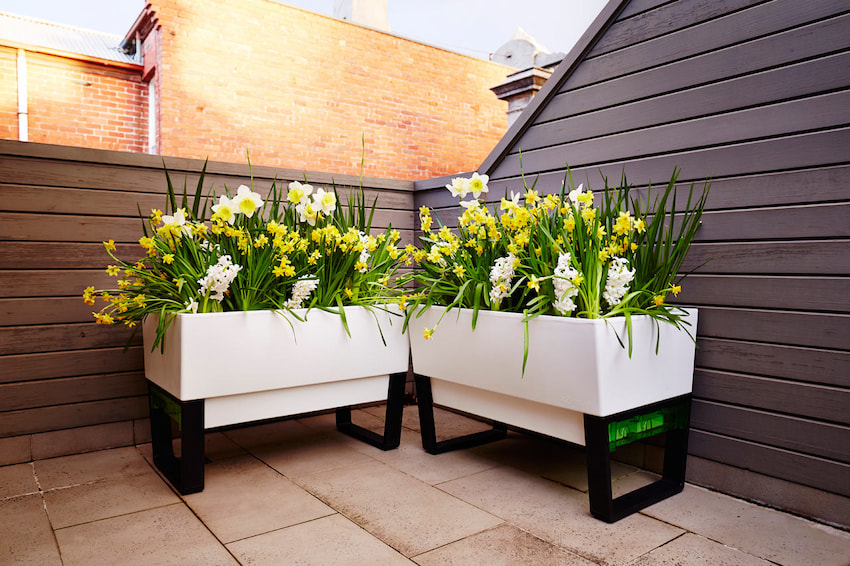
The Right Self Watering Planters
You’ll need high-quality soil and large planters with appropriate drainage to get started with your balcony garden. Consider purchasing a high-quality watering can, trowel, and gardening gloves. And speaking of low-maintenance, invest in self-watering planter boxes and you won’t regret it. They’re ideal not only for your house plants while you’re away, but also for your eco-friendly garden.
A balcony vegetable garden should be planted in pots with a soil depth of at least 20cm. Containers must allow for drainage and be large enough to fit the many plants you wish to grow in them, as well as enable those plants to spread. Drilling holes in the bottoms of pots, inserting fine gravel in the bottoms of your containers, and covering the gravel with a sturdy wire mesh can also help with drainage.
The Appropriate Soil
Soil also makes a difference! Balcony gardens benefit from soil that is loose, light, and well-draining. Look for soil that is organic, nutrient-rich, likely to hold moisture, and will not compress easily. Soils rich in mycorrhizae, and other nutrients, are an excellent choice.
Also, when looking through soils for your self watering planter, you may come across options that contain useful components such as vermiculite which is beneficial for oxygen and nutrient retention.
The Ideal Plan
Simply throwing seeds or plants together will not provide the desired effects, especially when working in a small space. Plan ahead of time to get the most out of your space and save yourself time and trouble later. Make a quick sketch of where you want the containers to go, paying particular attention to their sizes, and the spacing of seeds or young plants in each. This will provide you with a helpful template to use while you build up your garden.

Did you know that some plants thrive when they are planted alongside another? They can enhance each other’s flavour, promote development, and aid in the prevention of annoying insects. Companion planting also allows for a wide variety of plants to coexist in the same location, encouraging pollinators and preserving good soil conditions. It’s a good idea to adopt this strategy because it helps you to make the most of your gardening space. Because you can grow these companion vegetables near together, you can pack more plants into your containers.
The Necessary Cover and Protection
Some fruits and vegetables are particularly vulnerable to frost or pests such as birds and insects, so it’s a good idea to reduce the possible hazard by providing sufficient cover for your self watering planter boxes. Polythene is resistant to harsh weather and pests, making it perfect for crops that need to retain heat or are susceptible to frost.
A fine mesh cover will not provide the same weather protection, but it will be breathable and will keep creepy crawlies at bay. If your plants are under attack by animals, try chicken wire – cats and dogs will avoid it.
The Timely Harvest
Once ripe, some crops are happy to wait in the ground or on the plant a little longer until you’re ready to eat them. Others will be tastier if harvested quickly. You’re on the home straight, but this is a crucial time so keep a close eye on your ripening plants. If you think a crop is ready but you’re not sure, let your taste buds decide.
The Ecological Benefits
Composting is a fantastic way to help your plants. With food and yard waste accounting for roughly 30% of garbage, it’s also an environmentally responsible way of decreasing waste and giving leftovers new life.
Composting provides numerous benefits to plants by enriching the soil with nutrients, increasing the growth of beneficial bacteria and fungi, and minimizing your need for fertilizers. Grab a small trash can, some dirt, and an old bin you no longer use to begin developing your compost pile.
Produce, peels, seeds, and even newspaper scraps can be composted to feed your plants. Include some moist leaves and grass clippings as well. Simply leave away any animal ingredients such as meat or lard.
The compost will be dark, earthy, and crumbly when finished. To give growing plants a nutrient boost, add a half-inch layer of finished compost to their base. If you’re new to composting, use a helpful guide to get started and avoid making any stinky blunders.
No Comments